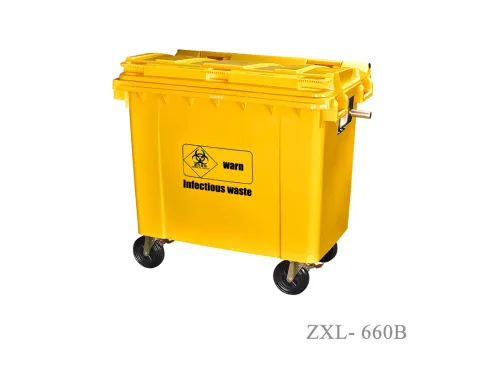
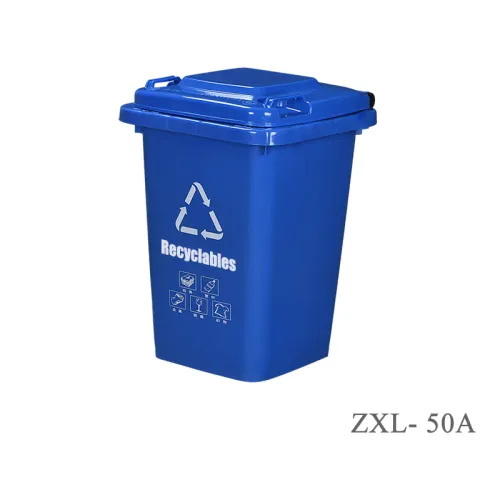
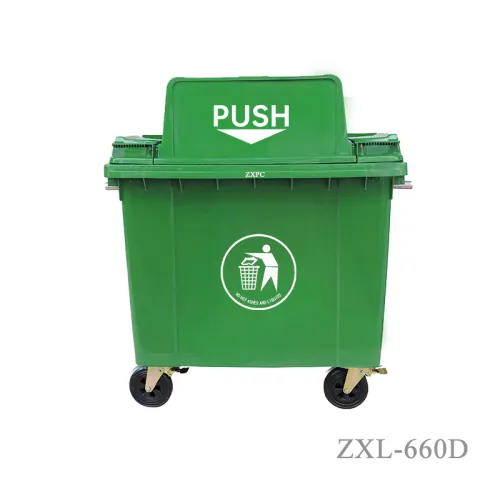
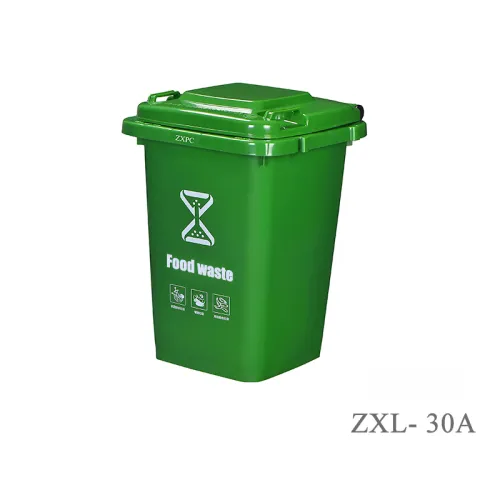
When it comes to maintaining a 400 litre wheelie bin, ensuring that the wheels function optimally is crucial for efficient waste management. In this guide, I promise to provide you with clear, actionable steps that will enable you to inspect and diagnose issues with your wheelie bin's wheels effectively. This process is straightforward and designed to assist businesses in maintaining their waste management operations without unnecessary downtime.
Step-by-Step Inspection Process
To begin inspecting the wheels on your 400 litre wheelie bin, gather the following tools:
- Socket Wrench Set: To remove the wheel bolts, ensure it measures precisely to prevent stripping.
- Measuring Caliper: For checking the wheel dimensions, accuracy to 0.01mm is essential.
- Lubricant Spray: A silicone-based or multi-purpose lubricant will help enhance wheel movement.
- Cleaning Brush: To remove any debris or dirt that may impede wheel function.
1. Prepare the Necessary Tools
Start by conducting a thorough visual examination:
- Look for visible signs of wear and tear, such as cracking or warping in the wheels.
- Inspect the attachments and bolts for any corrosion. Ensure they adhere to ASTM standards for durability.
- Check for obstructions in or around the wheel area that could hinder movement.
2. Visual Inspection
Next, lift the wheelie bin slightly off the ground:
- Gently spin each wheel to assess its rotation. A smooth motion indicates proper function, while resistance may suggest potential issues.
- If a wheel is reluctant to turn, use your cleaning brush to clear debris and apply lubricant as necessary.
3. Check Wheel Spin
To ensure the wheels are aligned accurately:
- Utilize a measuring caliper to confirm the diameter of the wheels matches the specifications outlined by ZXPC for your 400 litre wheelie bin.
- Misalignment can lead to uneven wear and hinder the bin’s mobility. Adjust accordingly by tightening or loosening bolts to achieve balance.
4. Measure Wheel Alignment
Once inspections are complete, check all bolts and fastenings:
- Ensure they are tight and secure to prevent future complications, recommending a 100% inspection of all nuts and bolts during routine checks.
5. Secure All Fastenings
Finally, apply lubricant:
- Focus on the wheel axles and surrounding areas to facilitate ease of movement, thus enhancing the lifespan of both the wheels and the wheelie bin itself.
6. Lubrication
The impact of this inspection process is significant, especially for businesses that rely on the efficient transportation of waste. By proactively addressing wheel issues on your 400 litre wheelie bin, you can minimize operational disruptions and save costs associated with repairs and replacements. Regular inspections ensure adherence to relevant safety standards and enhance service delivery.
Real-World Impact
While inspecting and maintaining your wheelie bin wheels can be straightforward, some challenges may arise:
- Stubborn Bolts: If bolts are corroded and difficult to remove, consider using a penetrating oil and let it sit for a few minutes before attempting again.
- Debris Buildup: Persistent debris may require more vigorous cleaning. Using a high-pressure washer can assist in clearing these blockages effectively.
Challenges and How to Overcome Them
To further improve your efficiency in inspecting wheels on a 400 litre wheelie bin, consider:
- Online Video Tutorials: Visual aids can provide additional clarity on specific techniques.
- Industry Manuals: Referencing ZXPC product manuals can offer insights into standard specifications.
Useful Resources
- Gather the required tools.
- Conduct a visual and functional inspection.
- Measure the alignment and secure any loose components.
- Lubricate to enhance performance.
- Document findings for future reference.
To ensure your operations stay efficient and cost-effective, take the time to inspect your 400 litre wheelie bin wheels regularly. Implementing these steps can prevent major headaches down the road and prolong the life of your equipment. Start today and maintain a seamless waste management process!
Key Steps to Take Action